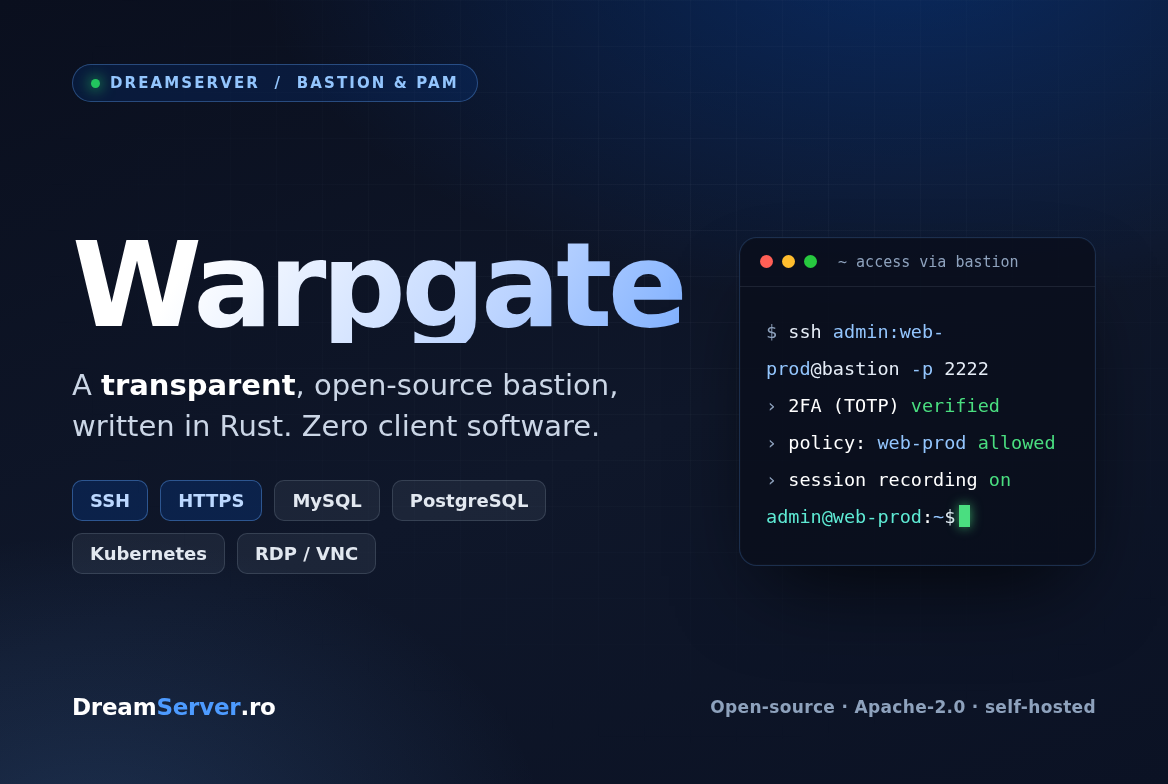
Warpgate: the open-source bastion that brings order to your SSH access
There is a moment, in the life of any infrastructure that grows, when the answer to “who has access to this server?” turns into a shrug. SSH keys have multiplied like rabbits. The authorized_keys file on ten machines holds keys nobody recognises anymore. A former contractor technically still has access to the production database, and nobody is entirely sure their key was revoked everywhere. When someone asks “what did user X do on server Y last week?”, the honest answer is: no idea.
This is where a bastion earns its keep. And Warpgate , the open-source bastion written in Rust by the warp-tech team, solves exactly that pain without asking you to reinvent your whole access story. We have been testing it in front of a handful of servers in our Bucharest datacenter for a few weeks. This post is the field report.
What Warpgate actually is
In short: Warpgate is a transparent proxy that sits between you and your internal infrastructure and needs absolutely no client-side software. You install no agent, you run no wrapper around ssh, you force no new tool on the team. You keep running ssh, opening VSCode Remote, pasting a MySQL connection string into your favourite client, logging into a web panel from the browser. Warpgate slots itself onto the path, authenticates, applies the access policy, and only then hands the connection off to the real target, all while recording a live session for audit.
The “transparent” part is the crux and worth underlining. Warpgate is not a classic jump host, where you log into an intermediate box and then fire a second ssh at the destination. The difference is subtle but important: from a jump host you take two hops, you need keys on the middle box, you juggle ProxyJump and agent forwarding. Warpgate finishes authentication in front of you and then hands off to the server in a way that is fully transparent to the client. From your point of view, you run a single command and you are on the server. From a security point of view, every byte that flows was inspected, attributed to an identity, and saved.
Why being written in Rust actually matters
It may sound like a fan detail, but it has practical consequences. Warpgate is 100% safe Rust, with its own SSH implementation (the russh library), a web plane on the poem framework, and state persisted to SQLite through sea-orm and sqlx. The admin interface is a modern Svelte 5 frontend.
What this means operationally: a single binary, no external dependencies, no heavy runtime to patch, and none of the memory-safety vulnerability class (buffer overflows, use-after-free) that haunted network software written in C for three decades. For a service that by definition sits exposed at the edge of your network and is the first to see every access attempt, “safe by construction” is not a marketing slogan, it is exactly the property you want.
Which protocols it covers
Warpgate started life as an SSH bastion, but it has grown a lot. As of today it exposes native listeners for:
- SSH, the classic case: shell access to servers, with full session recording.
- HTTPS, to put any internal web application (an admin panel, a Grafana, a router) behind the same authentication gate.
- MySQL and PostgreSQL, so database connections also flow through the bastion, with the same identity and audit model.
- Kubernetes, for
kubectlaccess to clusters through the same control point. - RDP and VNC, added more recently, for remote desktop sessions.
All through the same binary, the same admin UI, the same user and role model. You are not juggling six different tools; you have a single place where you say who reaches what.
What you get out of the box
The open-source edition, which is the only edition, is generous. Warpgate is licensed under Apache-2.0, has more than 7,400 stars on GitHub, and is actively developed. Out of the box you get:
- Native two-factor authentication (2FA) via TOTP. That is the code generator from Google Authenticator, Aegis or any other app, with no SMS gateway to pay for.
- Single Sign-On through OpenID Connect, to tie Warpgate to your identity provider (Authelia, Keycloak, Google Workspace, Azure AD). A user logs in once, with the company identity, and gets exactly the access you assigned them.
- Full session recording, with live viewing and later replay directly from the admin UI. You can watch in real time what is being typed in an SSH session, or come back two weeks later and replay exactly what happened.
- Command-level audit, not just “the user connected at 14:32” but what they ran there.
- Precise access control, with fine-grained assignment between users, roles and targets. A user sees and touches only the services assigned to them, nothing else.
- Brute-force protection, with IP blocking and user lockout, so nobody turns your port 2222 into a playground.
- A single binary, no dependencies, that boots in seconds and moves easily from one place to another.
What it does not do, and it is worth being clear: Warpgate is not a VPN and it is not a secrets vault. It does not encrypt your whole network segment end to end for all traffic; it gives you a controlled access gate to specific services. It does not replace a HashiCorp Vault for secret rotation. It is one piece of an access strategy, not the whole strategy.
Installing Warpgate on a VPS
This is the part where many “self-hosted PAM” projects make you regret the decision, burying you under a three-hundred-line helm chart and five external dependencies. Warpgate genuinely does not. Being a single Rust binary, the install is almost embarrassingly simple.
Sane starting resources: 1 vCPU and 1 GB RAM comfortably run a bastion for a small team; step up to 2 vCPU / 2 GB if you record many concurrent sessions or push database traffic. SQLite keeps state locally, so you need no separate database server.
On a fresh Debian or Ubuntu server, grab the binary from the official releases:
ver=v0.26.1
wget https://github.com/warp-tech/warpgate/releases/download/$ver/warpgate-$ver-x86_64-linux
chmod +x warpgate-$ver-x86_64-linux
sudo mv warpgate-$ver-x86_64-linux /usr/local/bin/warpgate
Then run the interactive setup, which generates your config file, the host keys and the first admin account:
sudo warpgate --config /etc/warpgate.yaml setup
Setup asks which ports each protocol should listen on. The defaults are chosen well so they do not clash with services already on the box:
- SSH: port
2222(not 22, so it does not collide with the host’s sshd). - HTTPS admin UI: port
8888. - MySQL: port
33306.
Data and session history land in a SQLite database under /var/lib/warpgate. After setup, start the service:
sudo warpgate --config /etc/warpgate.yaml run
For production you obviously wrap it in a systemd unit with Restart=always, so it comes back up after a reboot. If you prefer containers, there is an official Docker image plus a helm chart, but for a single-node bastion the binary straight on the host is the cleanest option: fewer network layers between an attacker and your logs.
One hygiene step you never skip: the admin UI on 8888 must not be exposed to the whole world. Restrict it to your management IPs with a firewall rule:
ufw allow 2222/tcp
ufw allow from YOUR_OFFICE_IP to any port 8888 proto tcp
ufw deny 8888/tcp
If you are running this on a DreamServer VPS , the same rule belongs in your provider’s network firewall too, do not rely on host-level rules alone for management interfaces.
Adding a target and a user
The mental model takes a minute to click, but after that it is clear. Warpgate has three entities that combine: targets (the servers and services you want to grant access to), users (the people who connect) and roles (groups that bind users to targets).
In the admin UI at https://<your-server-ip>:8888/, you first add an SSH target: its name inside Warpgate (say web-prod), the real address and port of the origin (10.0.0.5:22), and how Warpgate authenticates onward to the server, with a dedicated SSH key you generate for the bastion. That key goes into authorized_keys on the target, and it is the only one that needs to live there: from that moment, people no longer keep personal keys scattered across servers, they all go through the bastion.
Then you create a user, enable 2FA (or tie them through OIDC to the company identity provider), and assign them to a role that has access to web-prod. Done. The user connects like this:
ssh admin:web-prod@bastion.example.com -p 2222
The user:target@host syntax is the whole trick: the part before the : is the Warpgate identity, the part after is the name of the target you want to reach. Warpgate authenticates you (password plus TOTP code, or an OIDC redirect in the browser), checks that you are allowed on web-prod, and drops you on the server. For databases, same model, the syntax just differs slightly:
mysql -u 'admin#web-db' --host bastion.example.com --port 33306 --ssl -p
For HTTPS targets, you open the Warpgate UI in the browser, authenticate, and click the target: the bastion proxies the internal web application through its authenticated gate, without exposing the application directly to the internet.
Configuration patterns worth knowing
A few things we found genuinely useful beyond the defaults.
Enforce 2FA for everyone, from day one
A bastion without a second factor is just SSH with extra steps. Turn on mandatory TOTP for all users on the first day, before anyone gets used to living without it. The cost is a QR-code scan; the benefit is that a stolen password alone no longer opens anything.
Tie it to OIDC and skip manual account management
If you already run an identity provider, OIDC integration turns Warpgate from “yet another place I keep passwords” into “yet another service that respects the company identity”. When a person leaves, you disable their account in one place, the IdP, and their access to everything that flows through the bastion vanishes instantly. That alone solves the scenario we opened this article with.
Review the recordings, do not just let them sit
The real power of session recording is not that it exists, it is that you use it. Once a week, go into Sessions in the UI and walk through what happened on the sensitive targets. You will catch things: someone who ran a DROP on the wrong database, a contractor who touched a server that was not their job, an incident nobody reported. Replay is something you simply cannot get from a text log.
One target = one dedicated bastion key
Do not reuse the same SSH key for all targets. Generate one pair per server, held by Warpgate. If you ever need to pull a server out of the bastion or rotate a key, you do it surgically, without touching access to the rest of the fleet.
Treat the SQLite database as critical infrastructure
All the configuration and all the session history live in /var/lib/warpgate. The container or binary can be rebuilt in a minute; the SQLite database is what you would actually miss. Put it in a real backup story, a Proxmox Backup
, snapshots, your call, and test that you know how to restore it.
Where Warpgate is not the right answer
It is worth being honest about the limits.
- Not a VPN. Warpgate gives you controlled access to specific services, not a general network tunnel. If you need a laptop to “be on the network” for dozens of ad-hoc services, a VPN (or WireGuard) remains the complementary tool, not the replaced one.
- Not a secrets vault. It does not auto-rotate database passwords or inject ephemeral credentials Vault-style. It stores the bastion’s own access keys, and that is it.
- SQLite has a ceiling. For a normal-sized team and fleet, SQLite is perfect. For tens of thousands of long-retained sessions or aggressive multi-node HA setups, plan carefully, export and archive old recordings instead of letting the database grow forever.
- Self-hosting is not free. You are running another stateful service that needs backups, OS patching and occasional attention. If your team does not want that, managed bastions exist, but you will pay in a different currency, money and control.
Alternatives we considered
For completeness: we also looked at Teleport (extremely capable, with short-lived certificates and infrastructure access at scale, but much heavier and with key features pushed toward the commercial edition), sshpiper (a pure SSH reverse proxy, minimalist, no UI and no session recording), Apache Guacamole (excellent for RDP/VNC in the browser, but centered on remote desktop rather than the multi-protocol bastion model) and a plain hardened SSH jump host (cheap, familiar, but no real audit and the same key-sprawl problem we set out to solve).
Warpgate ended up being the cleanest fit for “I want a real bastion, with 2FA and session recording, in front of a small-to-medium fleet of self-hosted servers, without adopting a whole platform”. Your weights might be different.
So, should you run it?
If you manage more than a handful of servers and you have reached the point where you can no longer say for certain “who has access to what and what did they do there”, Warpgate is worth a Sunday afternoon. The install is genuinely fast, the access model settles into your head quickly, and the first time you replay a recorded session to understand an incident, you will know it has earned a permanent place in your stack.
If you run it in production, treat it as a bastion deserves: minimally exposed, with the admin UI locked to trusted IPs, with 2FA enforced, and with the SQLite database backed up. The bastion is, by definition, the single road to the rest of your infrastructure, so it deserves care to match.
We run Warpgate ourselves in front of a couple of internal services and recommend it to customers who ask how to bring order to their SSH access. If you want to try it on infrastructure you do not have to build first, our VPS plans start at small enough sizes to make the experiment cheap, and our server administration service covers the install, OIDC integration and tuning if you would rather skip the learning curve.
Either way, kicking the tires on Warpgate is a better way to spend an evening than counting the keys in authorized_keys one more time, hoping you recognise all of them. The code is on GitHub, the install is practically a single command, and you will know within an hour whether it earns its place in front of your infrastructure.